


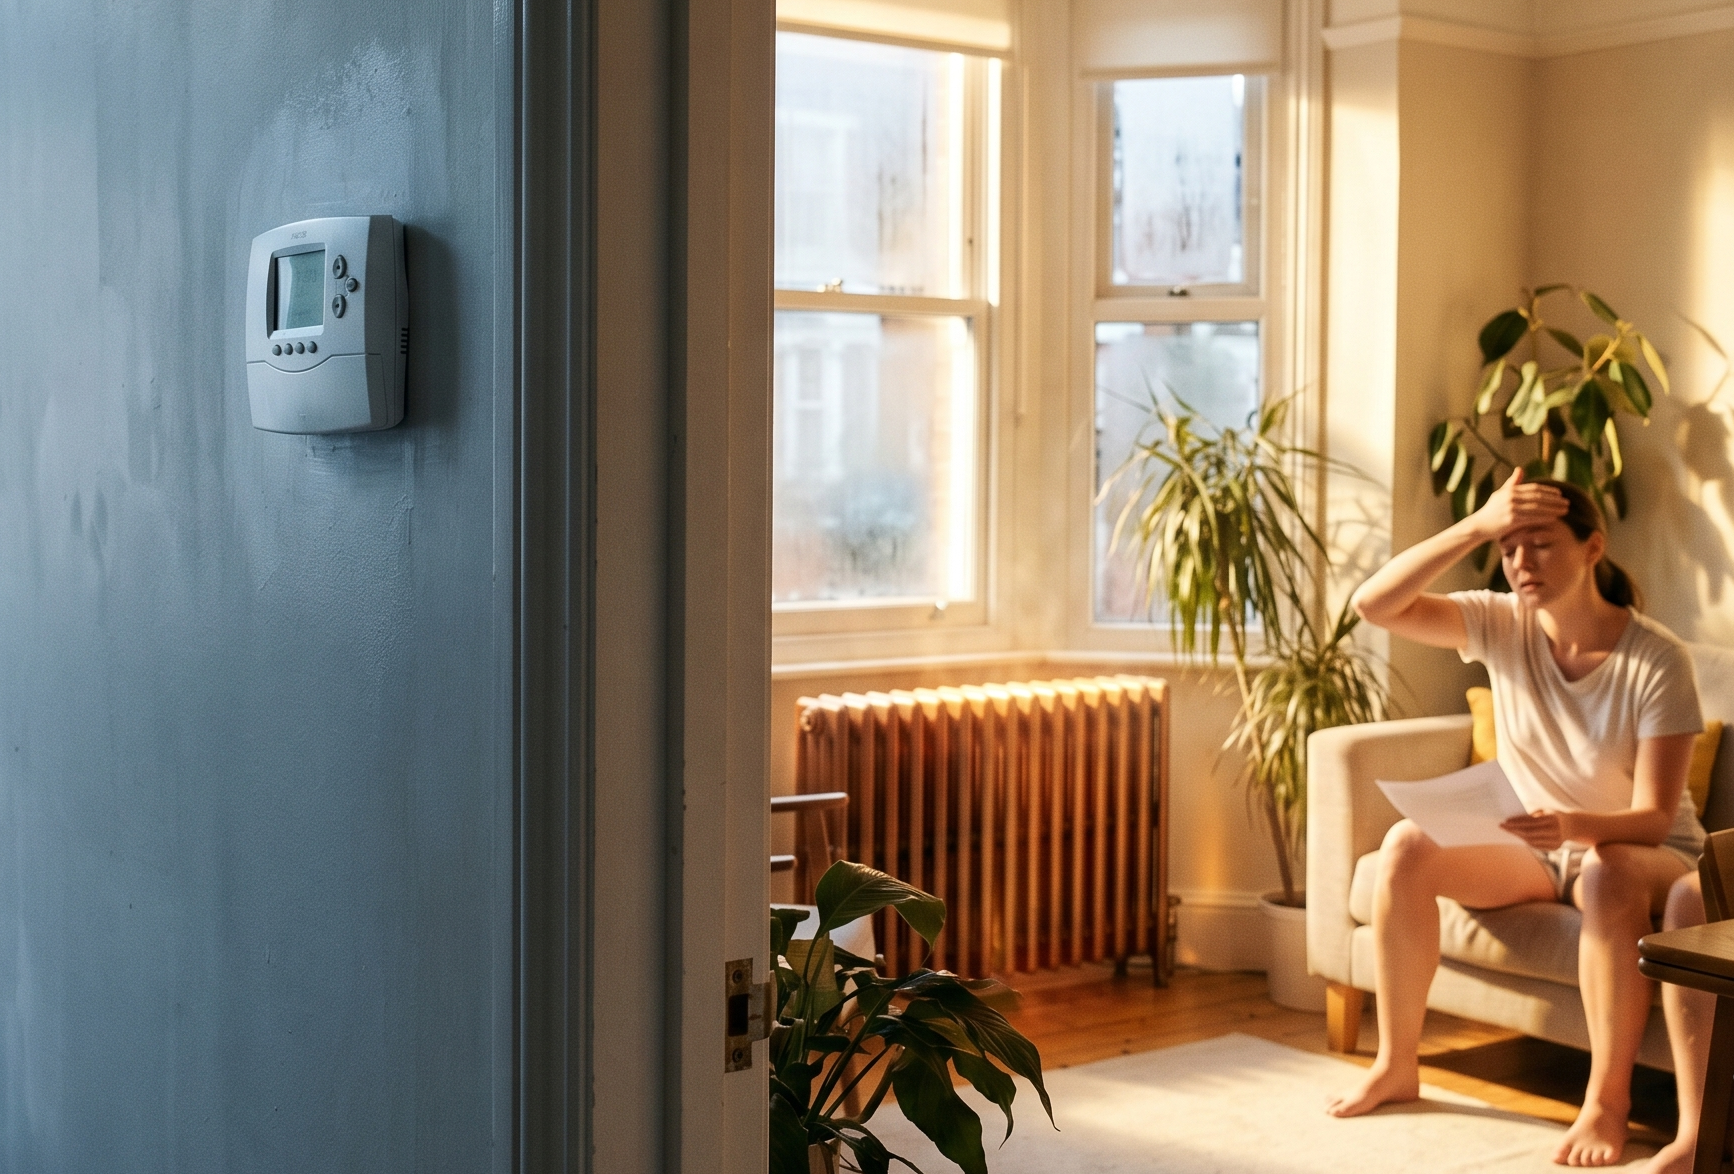
Most central heating systems use a single wall-mounted thermostat to control the heating system for an entire building. This unit measures the air temperature in a space of about 10 square centimeters directly around its plastic casing. If that specific spot is 18 degrees Celsius, the thermostat commands the system to turn on. If the spot hits 21 degrees Celsius, it commands the appliance to turn off.
The system operates entirely on this single data point. When a thermostat is installed in an inconvenient location or perhaps in a closed space, the system receives bad data. For example, if a builder installs the sensor in an unheated entrance corridor, cold drafts from the front door keep the sensor reading low. The system continues to consume energy to heat the corridor, causing the main living room and bedrooms to overheat, often reaching 24 or 25 degrees Celsius.
Identifying incorrect sensor locations
To fix a heating issue, you first need to confirm if the sensor location is the actual cause. You can identify a poorly placed thermostat by checking its immediate surroundings for physical factors that distort the temperature reading.
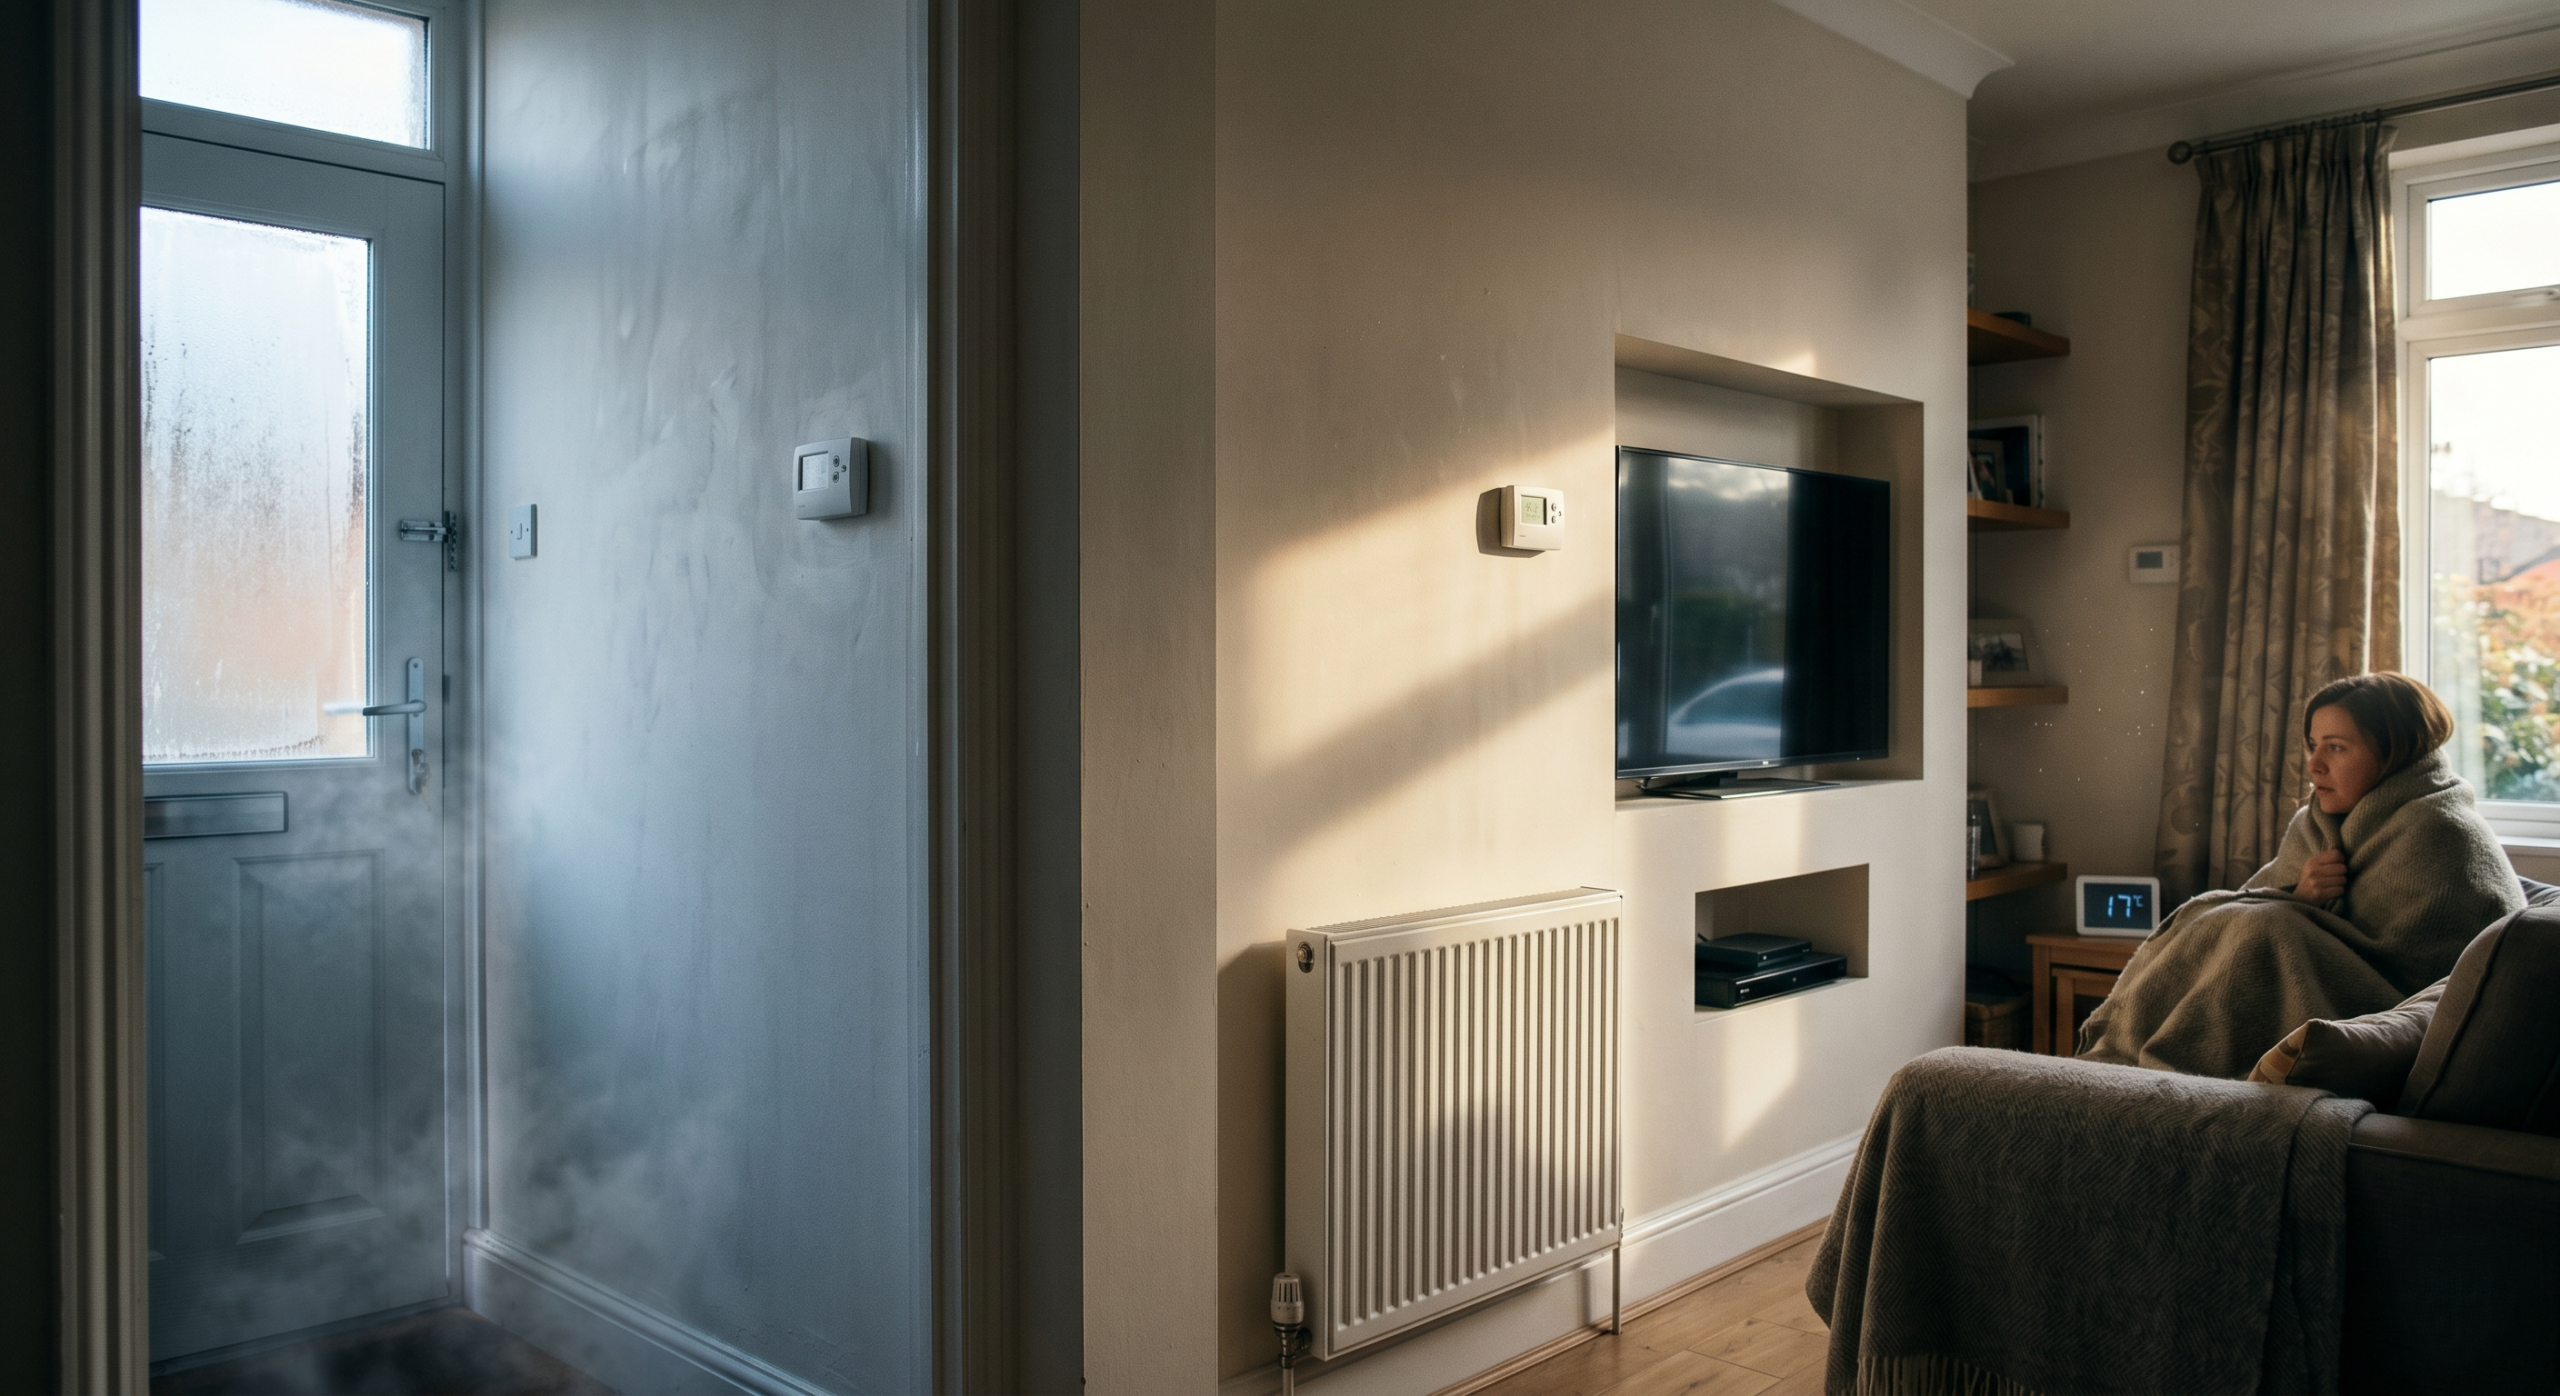
- Direct sunlight: A sensor mounted on a wall facing a south window absorbs solar heat. The plastic casing can reach 26 degrees Celsius in the afternoon, even in winter. The system shuts down, leaving rooms on the north side of the house at 16 or 17 degrees.
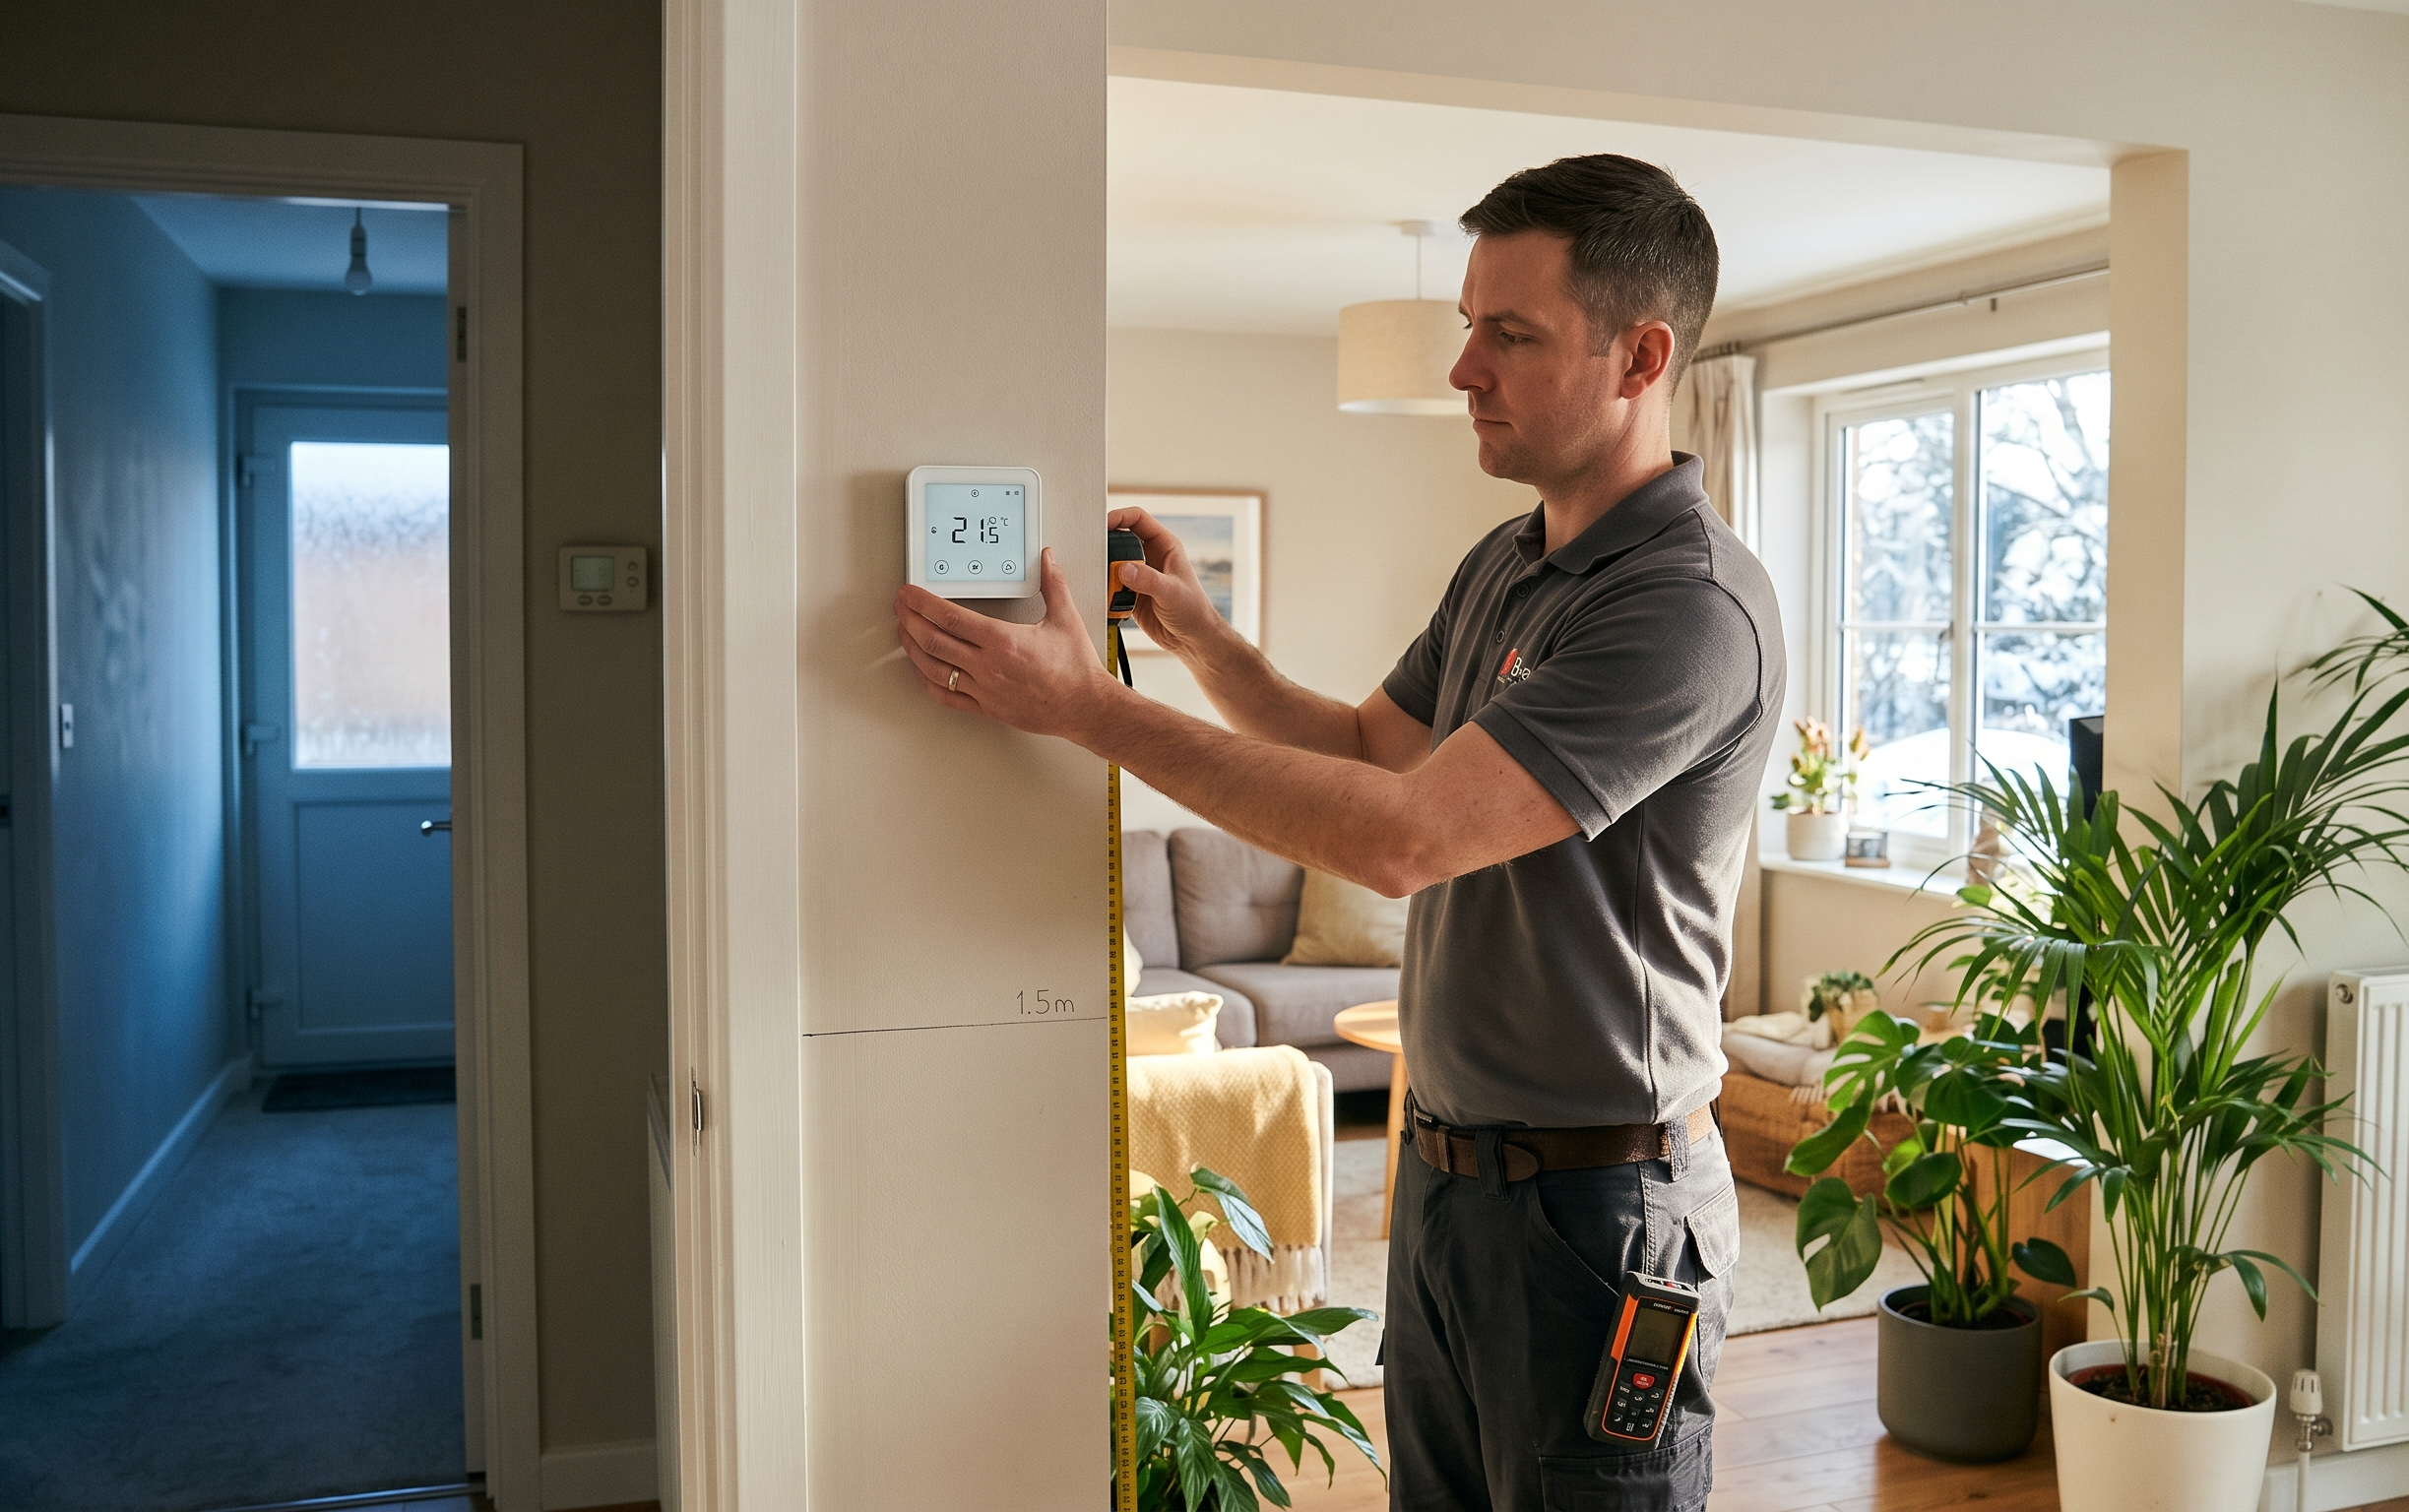
- Above heat sources: Thermostats installed within 1.5 meters of a radiator, a fireplace, or a large television will measure the heat generated by these specific devices rather than the average room air.
- Near drafts: Locations near exterior doors, ventilation shafts, or poorly sealed window frames expose the sensor to cold air. This results in the system turning on and off in rapid 5-minute cycles. This process, called short-cycling, increases energy consumption and causes mechanical wear on its components.
- Restricted air circulation: Sensors placed behind heavy curtains, large bookshelves, or inside alcoves measure trapped, stagnant air. A thermostat requires constant, unrestricted airflow to register the actual temperature of the room.
The mechanics of moving a thermostat
Historically, moving a thermostat was a construction task. Hardwired sensors connect to the heating appliance via thin electrical cables hidden inside the walls. Relocating the device meant cutting a channel into the plaster, laying a new cable, and repairing the wall surface. Because of this, homeowners often leave thermostats in bad locations for years.
You can bypass this physical wiring requirement by upgrading the equipment. Installing wireless thermostats separates the temperature sensor from the physical connection to the heating system.
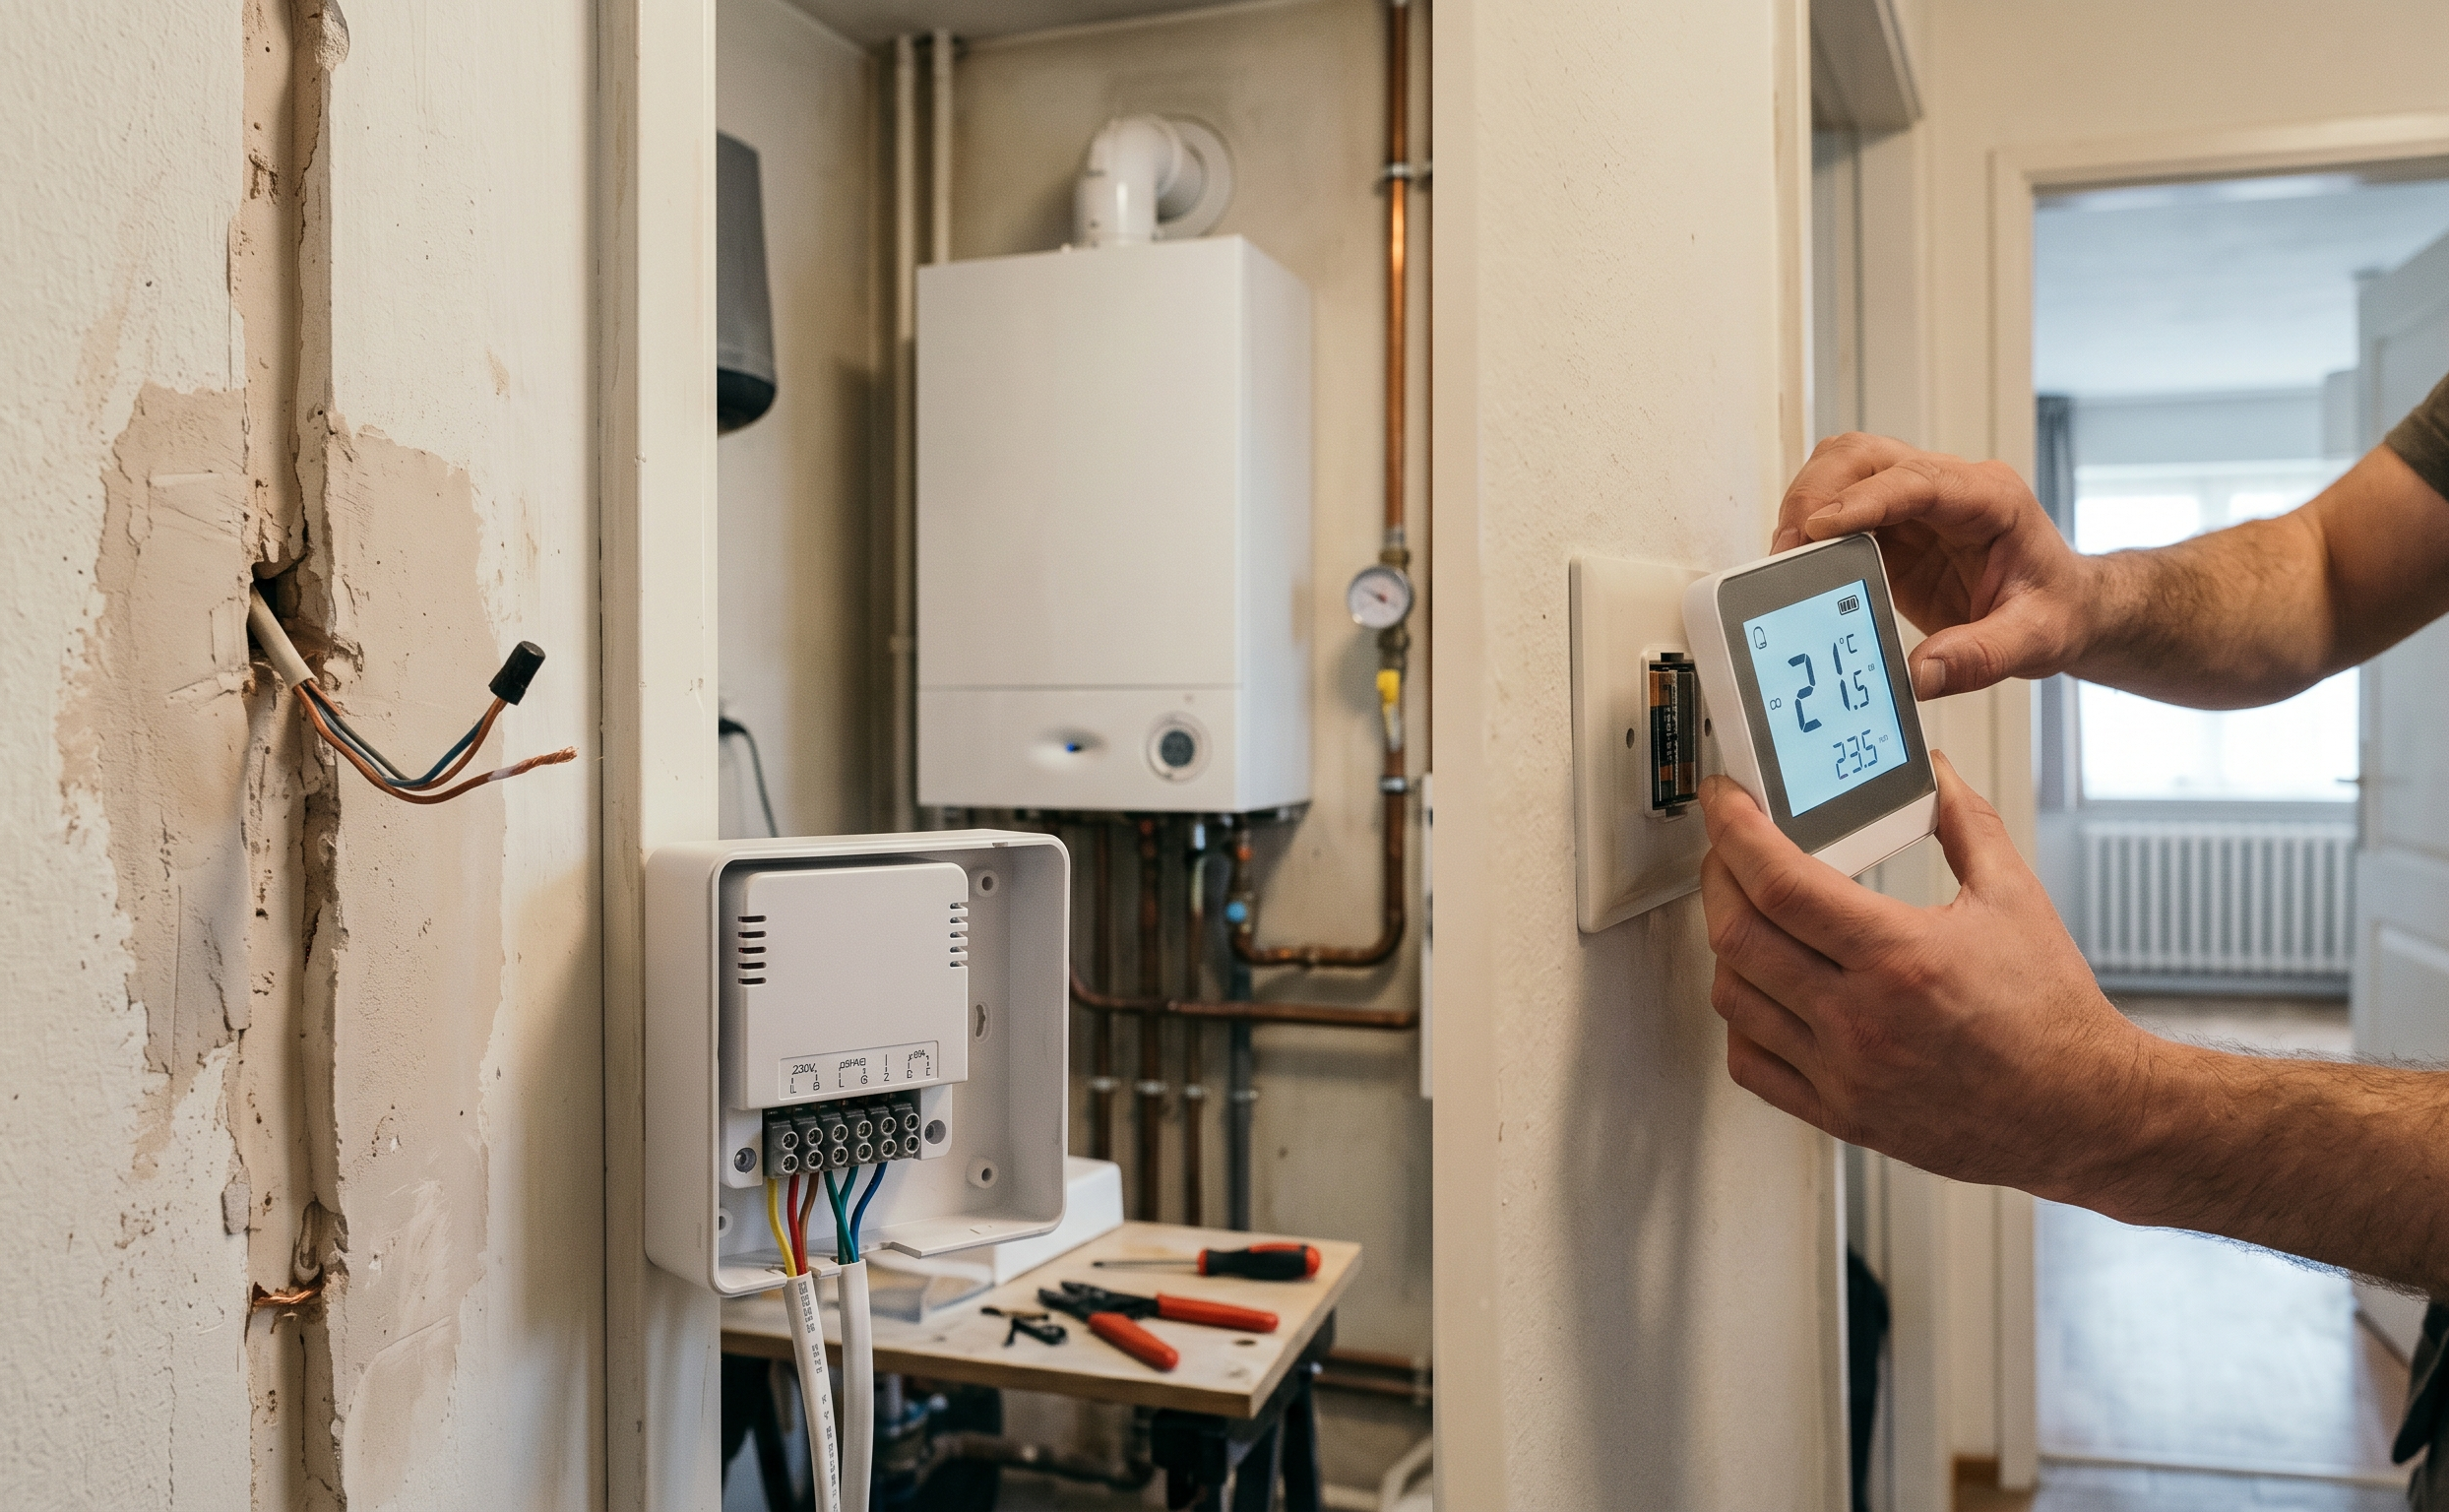
The setup requires two components:
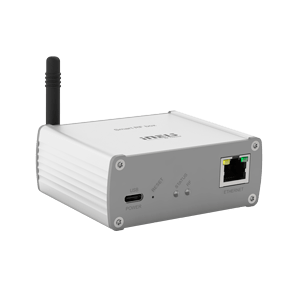
- The receiver box: This unit is wired directly next to the heating appliance. It uses the existing 230V electrical supply and connects to the appliance’s control terminals.
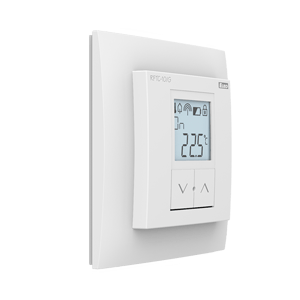
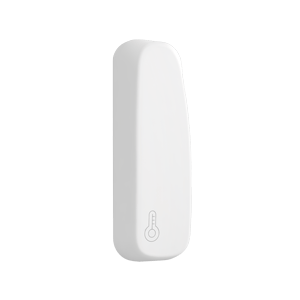
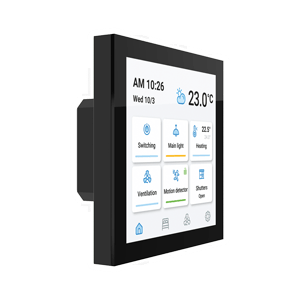
- The sensor unit: This is the screen you interact with. It runs on standard AA or AAA batteries and communicates with the receiver using a radio frequency signal, similar to a standard Wi-Fi router.
Because the sensor operates on batteries and uses radio waves, you can lift it off the wall and walk it into a different room without cutting into the plaster.
Rules for optimal placement
When you transition to a radio-frequency system, you have the freedom to place the control unit anywhere. However, the physical laws of temperature measurement still apply. To get a precise reading of the house, you must place the new sensor according to specific technical parameters.
Measure from the correct height
Install the device exactly 1.5 meters above the floor. Cold air is dense and settles near the floor boards, while warm air rises toward the ceiling. The 1.5-meter mark represents the average temperature of the breathing zone for a standing adult.
Use interior walls only
Exterior walls change temperature depending on the outdoor weather. In winter, the physical surface of an exterior wall is colder than the air in the room. If you mount a thermostat directly to it, the sensor will read the cold wall temperature, not the air. Always use an internal partition wall.
Target the primary living area
Move the sensor to the room where occupants spend the most time. For residential homes, this is usually the main living room. The system will then adjust its output to maintain comfort specifically in that space, ignoring the temperature fluctuations of empty hallways.
Test the signal range
Most battery-operated sensors have an indoor transmission range of 20 to 30 meters. Thick concrete walls, foil-backed insulation, and large metal objects like refrigerators block radio signals. Before fixing the sensor to the wall permanently with screws, place it on a shelf in the desired room for 48 hours to confirm the receiver at the heating unit consistently receives the signal.
Interaction with radiator valves
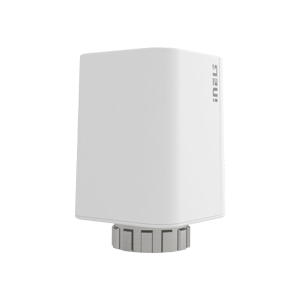
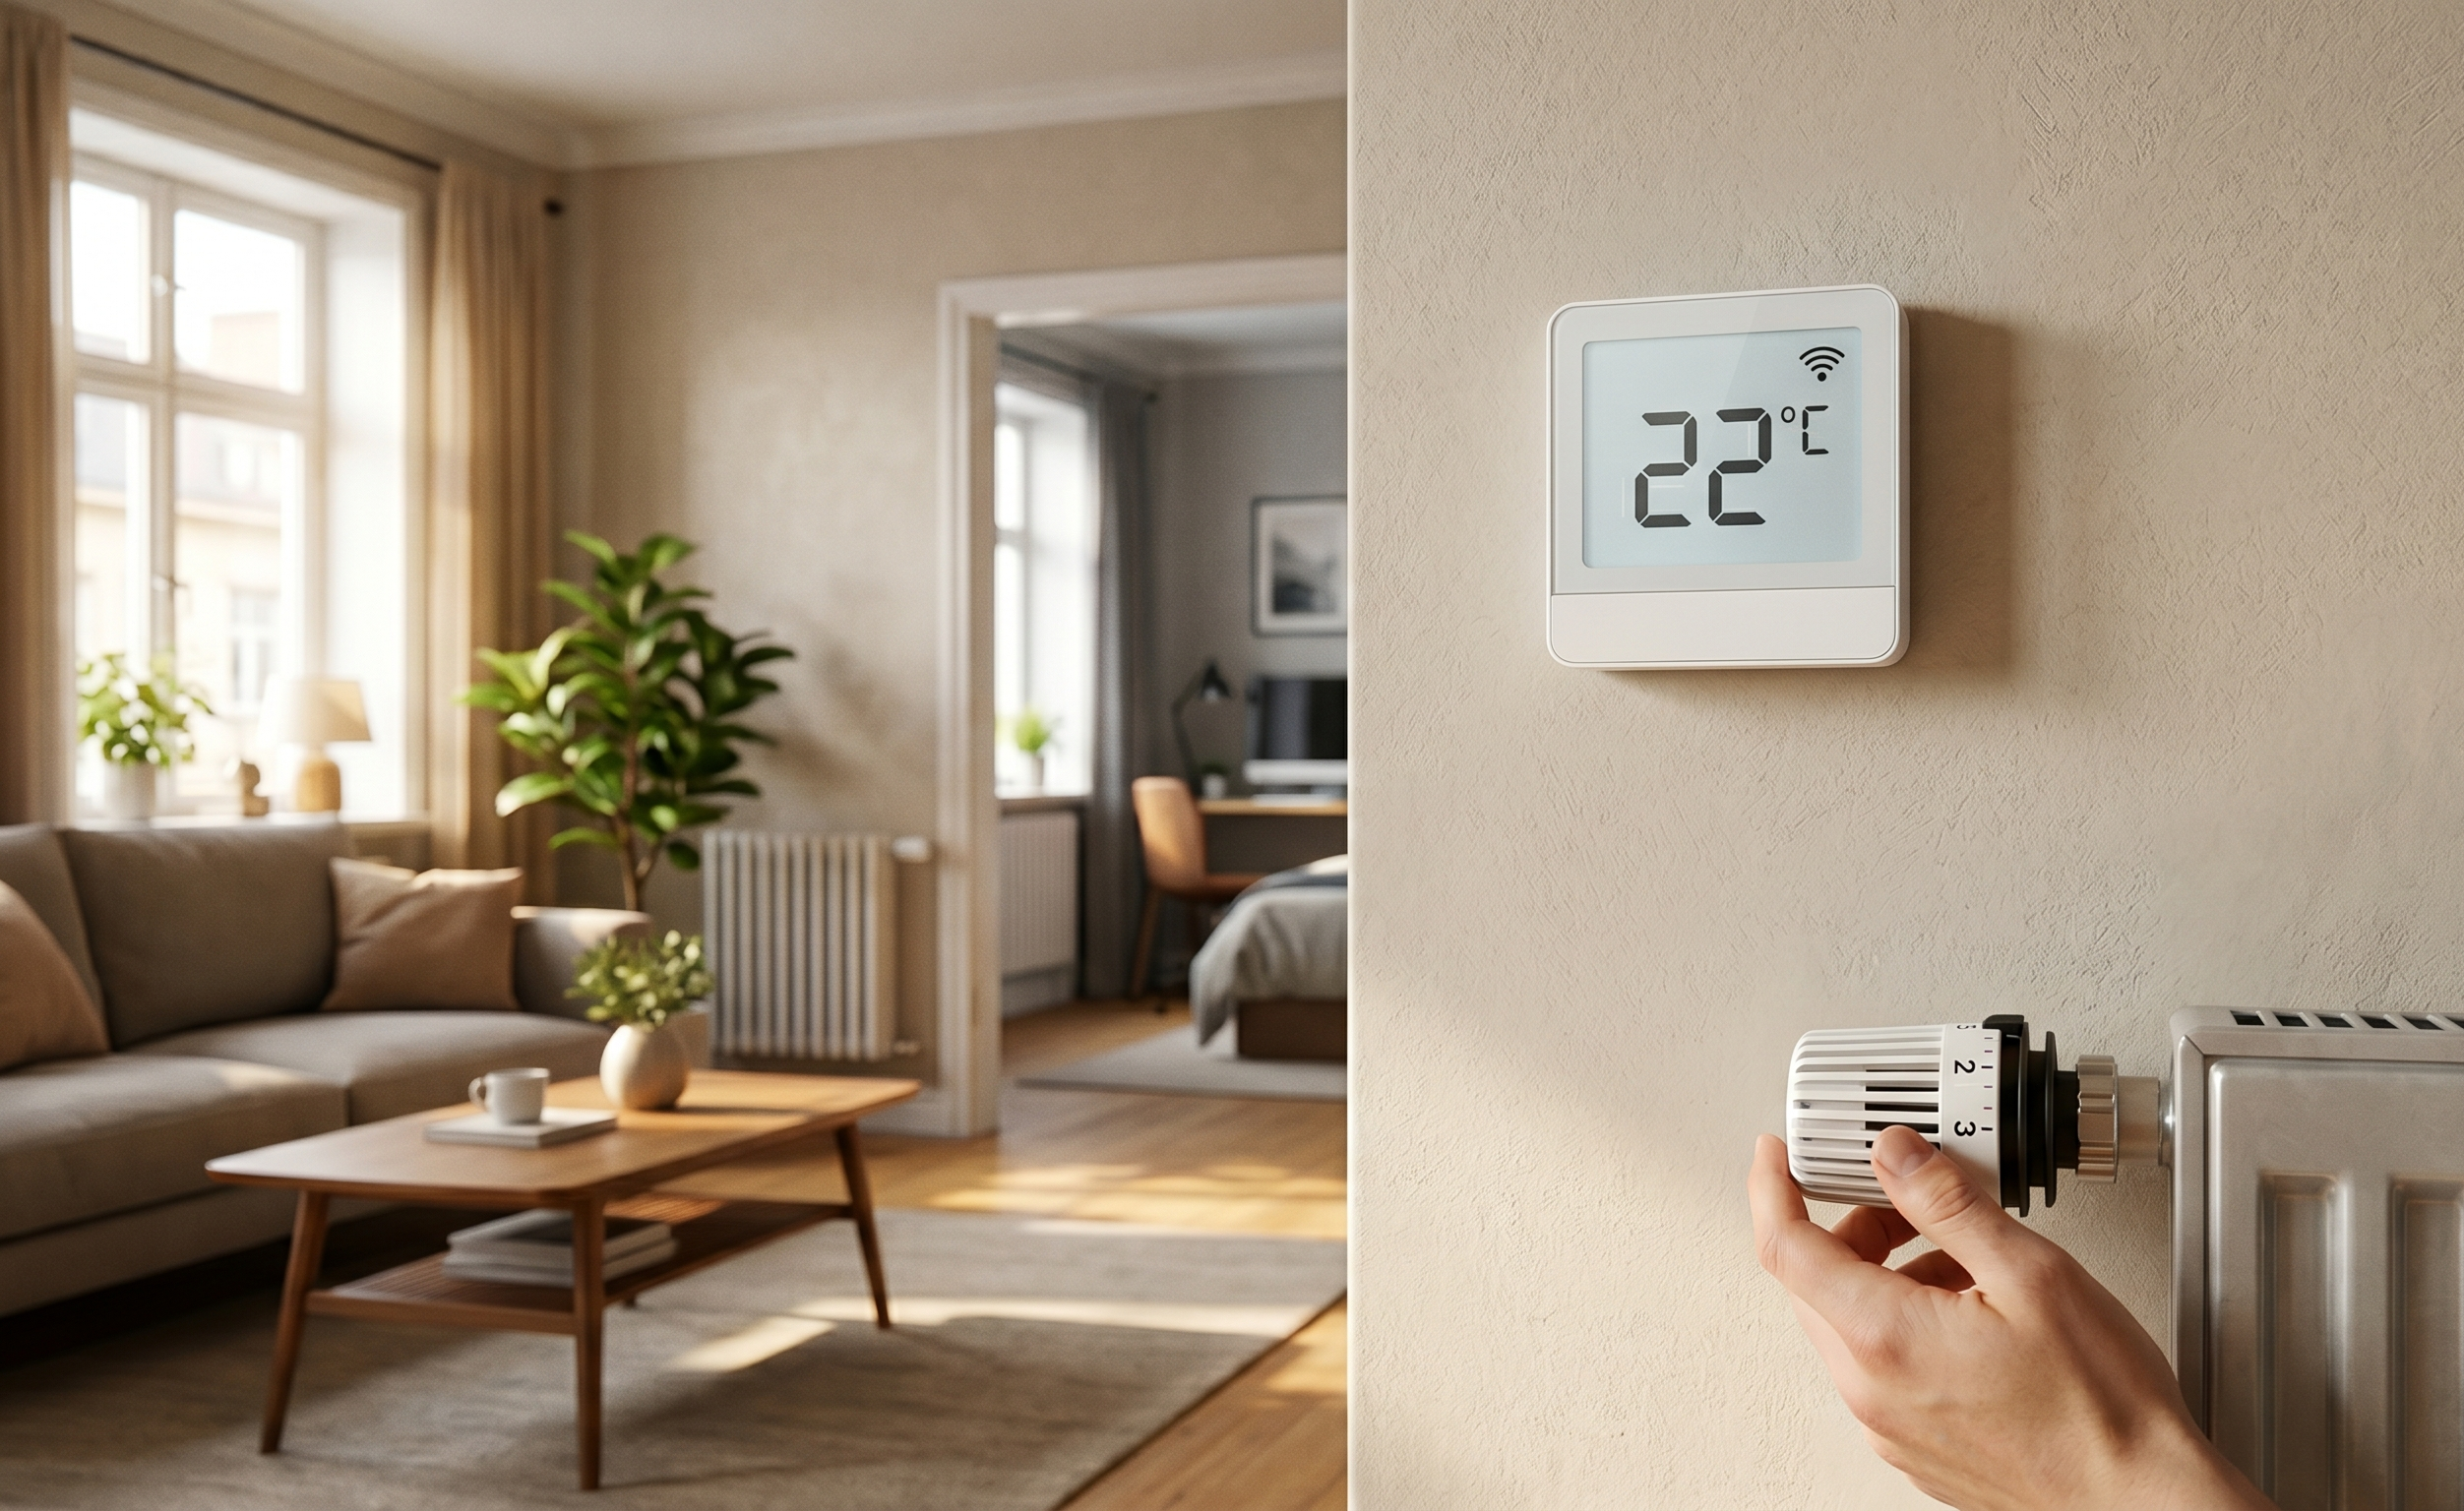
Moving a main temperature sensor changes how the whole house heats up. You must adjust your radiators to match the new location. Many modern radiators have a numbered dial on the side, called a Thermostatic Radiator Valve (TRV). These valves measure the temperature locally and restrict hot water flow to the individual radiator.
If you place your wireless sensor in the living room, you must turn the TRV on the living room radiator to its maximum setting (usually number 5). If you leave the radiator valve on setting 3 (which targets around 20 degrees) while the wall sensor is set to 22 degrees, the two devices will conflict. The radiator will shut off its own water supply at 20 degrees, meaning the room will never reach 22 degrees. The wall sensor will then keep the system running continuously, wasting energy.
The room with the main wall sensor must always have fully open radiator valves. Rooms without the sensor can then be managed individually by adjusting their specific radiator valves up or down to suit the occupants.